Every step of the baking process is important and will affect the result.
Understanding each of the steps and performing them correctly will help you stay in control of every bake. If you want to take it to the next level, then learn about Baker’s Percentage & Dough Hydration.
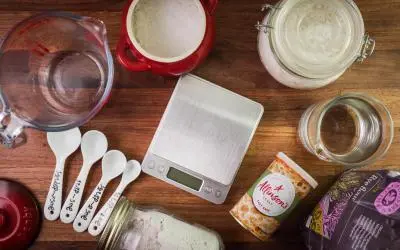
- Scaling – Weighing the ingredients will determine what kind of bread you are making and how much. Ingredients must be weighed because measuring in volume is very inaccurate.
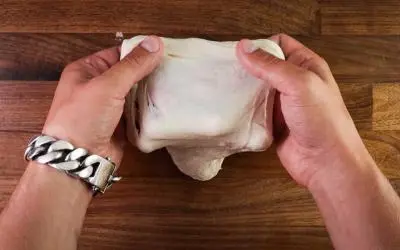
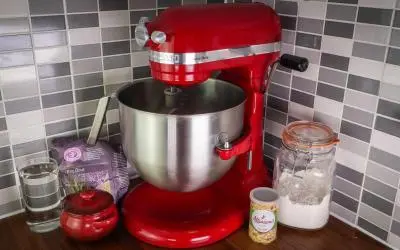
- Mixing – By kneading the dough you are setting the foundations of good gluten development. Temperature of ingredients is especially important at this point.
- Bulk fermentation – Your dough will spend most of its time in this step. Hence the name ‘bulk fermentation’. During this process, your dough will gain most of its volume.
- Folding – A step that can be omitted. Normally used to strengthen gluten structure in higher hydration doughs, but it can also be used to equalize temperature of the dough.
- Dividing – If you are making more than 1 piece of bread then you will be taking this step. Dividing dough into equal pieces will make all your breads the same size, proof for the same amount of time and bake for the same amount of time too.
- Pre-shaping – Once the dough has been divided you should pre-shape it to get it ready for its final shaping. This is the chance to really make all your dough balls look nice and neat.
- Bench rest – Resting the dough after the pre-shape will let the gluten relax and make it easier to do the final shape.
- Final shape – This will determine the final look of the bread. And it is an important last step to tighten the dough which will help with oven spring whilst baking.
- Final proof – The last stage before baking. Whilst shaping some gas was lost and the dough was tightly shaped. During the final proof it will fill up with gas again and stretch even further which will make it spring up in the oven come bake time.
- Scoring – This step is important not just because it will make the bread look nice, but it will also determine where the dough rises. If you do not score it then it will explode at the weakest point which will normally be the seam at the bottom.
- Baking – Goes without saying that we have been working towards this the whole time. Right temperature and right time are important.
- Cooling – Never cut your bread whist still extremely hot. It will ruin the inside. Cool it down on a rack to prevent the bottom sweating. If you do not have a rack, then lean it against something so that it is not touching a solid surface.
There is one more step that sometimes is especially useful – Autolyse. The process of autolysation is used for high hydration doughs to help along with gluten development. This would normally be step number 2! The way it works is that the flour and the water are mixed and left for some time to hydrate.
The gluten will develop with no kneading and this will make it much easier and fasted come kneading time when you would add the yeast and the salt and finish the mixing stage.
Watch the video here