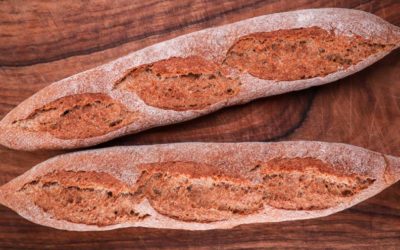
This is an awesome alternative to the regular white sandwich loaf.
By using a portion of wholemeal rye flour, we add a great deal of flavour. Even more so because the rye flour is pre-fermented.
I adapted this recipe from my baking hero Jeffrey Hamelman’s book ‘Bread: A Baker’s Book of Techniques & Recipes’. This book taught me most of the things I know. You can check it out in my Amazon shop if you are interested.
There is one major difference that I made to the recipe. The original one was made with sourdough. But my starter has been slumbering in the fridge for ages and I wanted this bread as soon as possible. So, I changed it to commercial yeast. And the result is awesome. Of course, the sourdough version would have a more intense flavour and a more substantial crust and crumb.
But this yeasted version was great regardless. Soft and fluffy inside, thin crust and still great flavour because of the wholemeal rye preferment. Since there are no additions to this dough except caraways seeds, it is important to use wholemeal rye as white rye does not give off much flavour.
Kneading this dough by hand will be a small challenge as after the addition of the rye preferment the situation will get quite sticky, but I will show you how to alleviate that in the video.
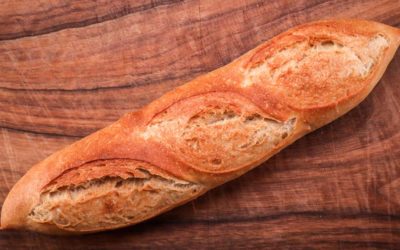
You can make this a freestanding loaf and final proof it on a tray. You can proof it in a bread basket and invert it onto a preheated pan and bake it that way. Or you can do what I did and make it in a loaf tin. You can also find the tin with a lid that I use in my Amazon shop.
Watch the video down below for detailed instructions.
Ingredients
For preferment –
60g (2.1oz) wholemeal rye flour
50g (1.75oz) water at room temperature if your kitchen is around 22 – 24C (72-75F) *
Small pinch of yeast
To learn more about dough temperature control click here.
For the main dough –
400g (14.1oz) strong white bread flour
6g (0.2oz) caraway seeds
9g (0.3oz) salt
5g (0.17oz) instant dry yeast or 6g (0.2oz) active dry yeast or 15g (0.5oz) fresh yeast
250g (8.8oz) cold water*
*To learn more about dough temperature when using a preferment click here.
More caraway seeds to sprinkle on top.
Method
- Make the preferment. In a bowl combine the water, pinch of yeast, and the rye flour. Mix until there is no dry flour left. Cover and ferment for 12 – 16 hours. This preferment is quite forgiving so over fermenting it is not that easy. And even if you leave it for longer it will still be fine to use.
- In a large bowl combine the water, yeast, salt, and caraway seeds. Mix well to dissolve any large salt crystals and to hydrate the yeast. Add the flour and mix to a dough.
- Tip the dough out on your table and knead it for 3 minutes. Stretch it out slightly and add the preferment. Seal in the preferment and keep kneading for another 4 minutes. If it becomes too sticky and unbearable, then you can wet your hands with water slightly, scrape everything together and keep kneading. Although if you just persist it will come together regardless. *Desired dough temperature 25C (77F). If your dough is warmer, then it will ferment more rapidly. If it is cooler, then it will take longer. Adjust proofing time accordingly.
- Place the dough into a bowl, cover and ferment it for 1 hour.
- Fold.
- Cover and ferment for 1 more hour.
- Shape. This depends on what shape you pick and the shape and size of your baking tin if you are using one. To see detailed shaping instructions, watch the video. Wet the loaf with water and sprinkle with caraway seeds once shaped.
- Final proof 1.5 – 2 hours or until almost doubled. This again will depend on whether it is a freestanding or a tin loaf. A tin loaf will be able to take more fermentation than a freestanding one. *During the final hour of fermentation preheat your oven to 180C (360F) fan on. I want the fan on because that way the hot air will be blasted around the loaf tin and in my mind that bakes it more evenly.
- Bake for around 40 minutes. If you are using a tin, then tip the loaf out after 40 minutes and stick it back in the oven for another 5 minutes to finish colouring the crust. *If you are making a freestanding loaf, then do not forget to score it before baking.
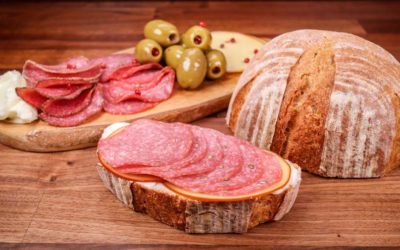
Let it cool down and make your favourite sandwich!
Keep in mind that the conditions in each kitchen are different, so fermentation times may vary for you. It is up to the baker to control the bread and react accordingly.
Your oven may be different too, so your baking time may vary.
Check out more breads with preferment here.
Watch the video here