I found this recipe in Jeffrey Hamelman’s book ‘Bread: A Baker’s Book of Techniques and Recipes’. And it is worth mentioning that I learned almost everything I know from this book.
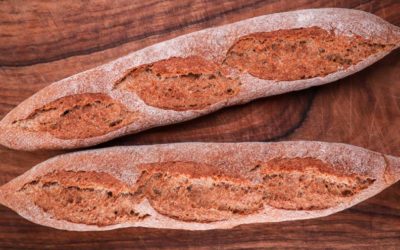
I have made a few changes to fit my style, but the essence is there. The bread is like Italian ciabatta in that it does not require the pre-shaping or final shaping. The final shape is done by simply cutting it to size after bulk fermentation.
A relatively large amount (half) of the total flour is pre-fermented in a poolish. The result of using such a large amount of pre-fermented flour is intensified flavour, sturdy crust and a crumb which is soft and fluffy but also has a good bite to it.
Because the preferment gives so much flavour the main fermentation on the day takes less time as we do not need a long bulk proof. So, this bread can be made in less than 3 hours, not counting the pre-ferment of course which is left to proof overnight.
This recipe makes two large loaves. You can divide the dough into more smaller pieces if you prefer.
A baking stone would be ideal for this kind of bread, but if you do not have one, then use a thick metal tray instead. If you do not have any heavy trays, then feel free to use a regular baking sheet. It is always best to bake bread on a thick solid preheated surface.
Because the preferment makes up most of the total dough weight, we must chill it down before mixing to prevent the dough from warming up too much. I placed mined in the fridge for one hour before making the final dough.
Watch the video down below for detailed instructions.
Ingredients
For the poolish –
250g (8.8oz) strong white bread flour
250g (8.8oz) water at room temperature if your kitchen is around 20 – 23C (68 – 73F) *
Small pinch of yeast
*To learn more about dough temperature control click here.
For the main dough –
250g (8.8oz) strong white bread flour
85g (3oz) cold water *
10g (0.35oz) salt
6g (0.21oz) instant dry yeast or 7.2g (0.25oz) active dry yeast or 18g (0.63oz) fresh yeast
*To learn more about dough temperature when using a preferment click here.
Method
- Make the poolish. In a large bowl combine the water, pinch of yeast, and flour. Mix well until there is no more dry flour left. Cover and ferment for 10 – 12 hours or until puffed up and full of bubbles.
- Mix the autolyse. Add most of the remaining water to the chilled poolish keeping just enough back for dissolving the yeast afterwards. Add the remaining flour. Mix until there is no dry flour left. Leave to hydrate for 30 minutes.
- Sprinkle the salt over the dough. Add the yeast to the remaining water and mix to dissolve. Pour the yeast water over the dough.
- Mix it by hand until combined.
- Tip the dough on your table and knead it for 8 minutes. If it is too sticky to use the regular kneading method, then switch to stretch & folds. *Desired dough temperature 23 – 24C (73-75F). If your dough is warmer, then it will ferment more rapidly. If it is cooler, then it will take longer. Adjust proofing time accordingly.
- Cover and ferment for 1 hour.
- Fold.
- Ferment for 1 more hour.
- Flatten the dough, trim the edges, and cut it into smaller loaves. Place smooth side up on a large piece or non-stick paper with the trimmings underneath the loaves.
- Cover and ferment for 40 minutes. *During this time preheat your oven to 240C (465F) fan off.
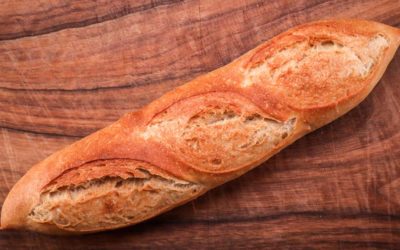
- Slash the loaves with a razor or a sharp knife.
- Bake for 20 – 25 minutes or until well browned all over. Turn around halfway through for an even bake.
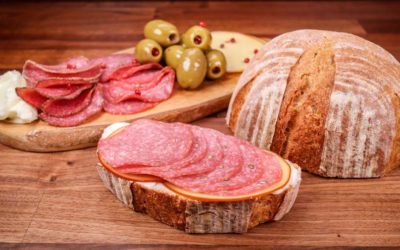
Let it cool down and enjoy!
Keep in mind that the conditions in each kitchen are different, so fermentation times may vary for you. It is up to the baker to control the bread and react accordingly.
Your oven may be different too, so your baking time may vary.
Watch the video here