Rye bread may sound like a daunting project.
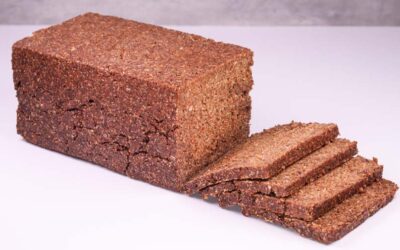
I will show you just how easy it can be. It is truly one of the simplest breads to make of all. The treacle in the dough gives it a dark colour and a deep rich sweetness. Toasted seeds popping between your teeth as you eat it. This bread will stay fresh for a long time so you can easily let it sit for a while.
It is also quite customisable as you can use different sweet syrups instead of the black treacle. You can also use any seeds or nuts you like.
I also have other rye bread recipes on my website and youtube channel. Sourdough rye bread, a rye bread pan loaf, rye crackers, and beer bread. In the future I will make more rye recipes too.
Watch the video down below for detailed instructions.
Ingredients
For the pre-ferment –
250g (8.8oz) rye flour
250g (8.8oz) water at around 20C (68F)
0.5g (0.02oz) dry yeast or 1.5g (0.06oz) fresh yeast
For the main dough –
250g (8.8oz) white rye flour
120g (4.2oz) toasted seeds *optional
1 tablespoon (0.5oz) black treacle
5g (0.2oz) dry yeast or 15g (0.6oz) fresh yeast
10g (0.3oz) sea salt
175g (6.2oz) water at 27C (80F)
To learn more about dough temperature control click here.
Method
- The day before baking mix all the pre-ferment ingredients. Cover and leave for around 12h. You want the preferment to be full of bubbles. Place the mix in a glass jar for a better view. If your kitchen is quite warm, then use cooler water to prevent it from over fermenting. To learn more about dough temperature control check the Learning page.
- The following day mix the water, yeast, black treacle, salt, seeds, pre-ferment and the remaining flour. I would advise mixing all but the flour first to disperse the ingredients evenly before adding the remaining flour as the flour will make the dough sticky and hard to mix.
- Shape and place in bread basket or a cloth-lined cake tin dusted generously with flour.
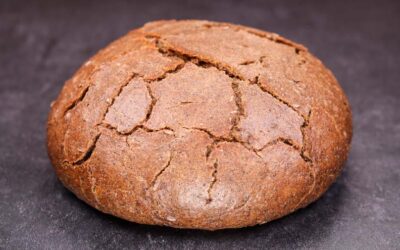
- Final proof for around 2h (you will see it puffing up and cracking on the surface). If it has not cracked, then you will know to leave it to ferment for longer.
- Halfway through proofing pre-heat your oven and cast-iron pot or thick bottom tray to 200C (390F) without fan or 180C (350F) with fan.
- Scoring and bake covered (if you have a lid) for 30min.
- Remove lid and continue baking for another 30min. If you are not sure if your bread is fully baked, you can stick your temperature probe into the centre of your loaf. If it reads 94C (200F) or more it means it is fully baked. This works with every bread. Not that I encourage it! You will in time learn to tell the readiness of bread by feel. My oven is quite weak, so yours might bake your bread more quickly. Keep an eye on it.
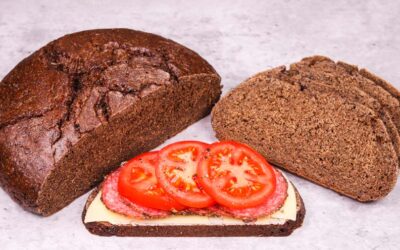
Let it cool down for up to a whole day and enjoy.
Watch the video here